How to Setup Copilot with YourGPT
YourGPT AI Copilot Builder lets you create and deploy an Action-Oriented AI Agent inside your product or website.
A standard chatbot only responds to questions. An AI Copilot goes further — it executes dynamic actions, integrates with your frontend, backend, and external tools, and completes tasks from start to finish.
Think of it as a smart teammate that knows your users, understands context, and gets work done.
What YourGPT AI Copilot Can Do:
✅ Executes multiple actions in sequence until a goal is achieved.
✅ Works with both frontend and backend systems.
✅ Is context-aware, leveraging customer and product data.
✅ Is custom-built to your workflows and tools.
Prerequisites
YourGPT account with Agent Mode enabled.
A widget configured (copy your
widgetId).Web app in JavaScript or React.
Quickstart
# 1) Initialize SDK (JS or React) with your widgetId
# 2) Register actions: recommend_sandwich_bundle, check_inventory, add_bundle_to_cart, show_cart
# 3) Implement /api/plan, /api/inventory/check, /api/cart/add-bundle
# 4) Add confirmation to mutating actions
# 5) Test the prompt in Conversations and verify action log
1) Web SDK Integration (minimal)
import { YourGPT } from "@yourgpt/widget-web-sdk";

// Initialize the SDK
await YourGPT.init({
  widgetId: "your-widget-id",
});
2) React SDK Integration (minimal)
import { YourGPT } from "@yourgpt/widget-web-sdk/react";

// Initialize in your main app file (main.tsx or App.tsx)
YourGPT.init({
  widgetId: "your-widget-id",
});
Setting Up YourGPT AI Copilot
You can integrate YourGPT AI Copilot in just a few minutes using the YourGPT SDK.
1. Register AI Copilot Actions

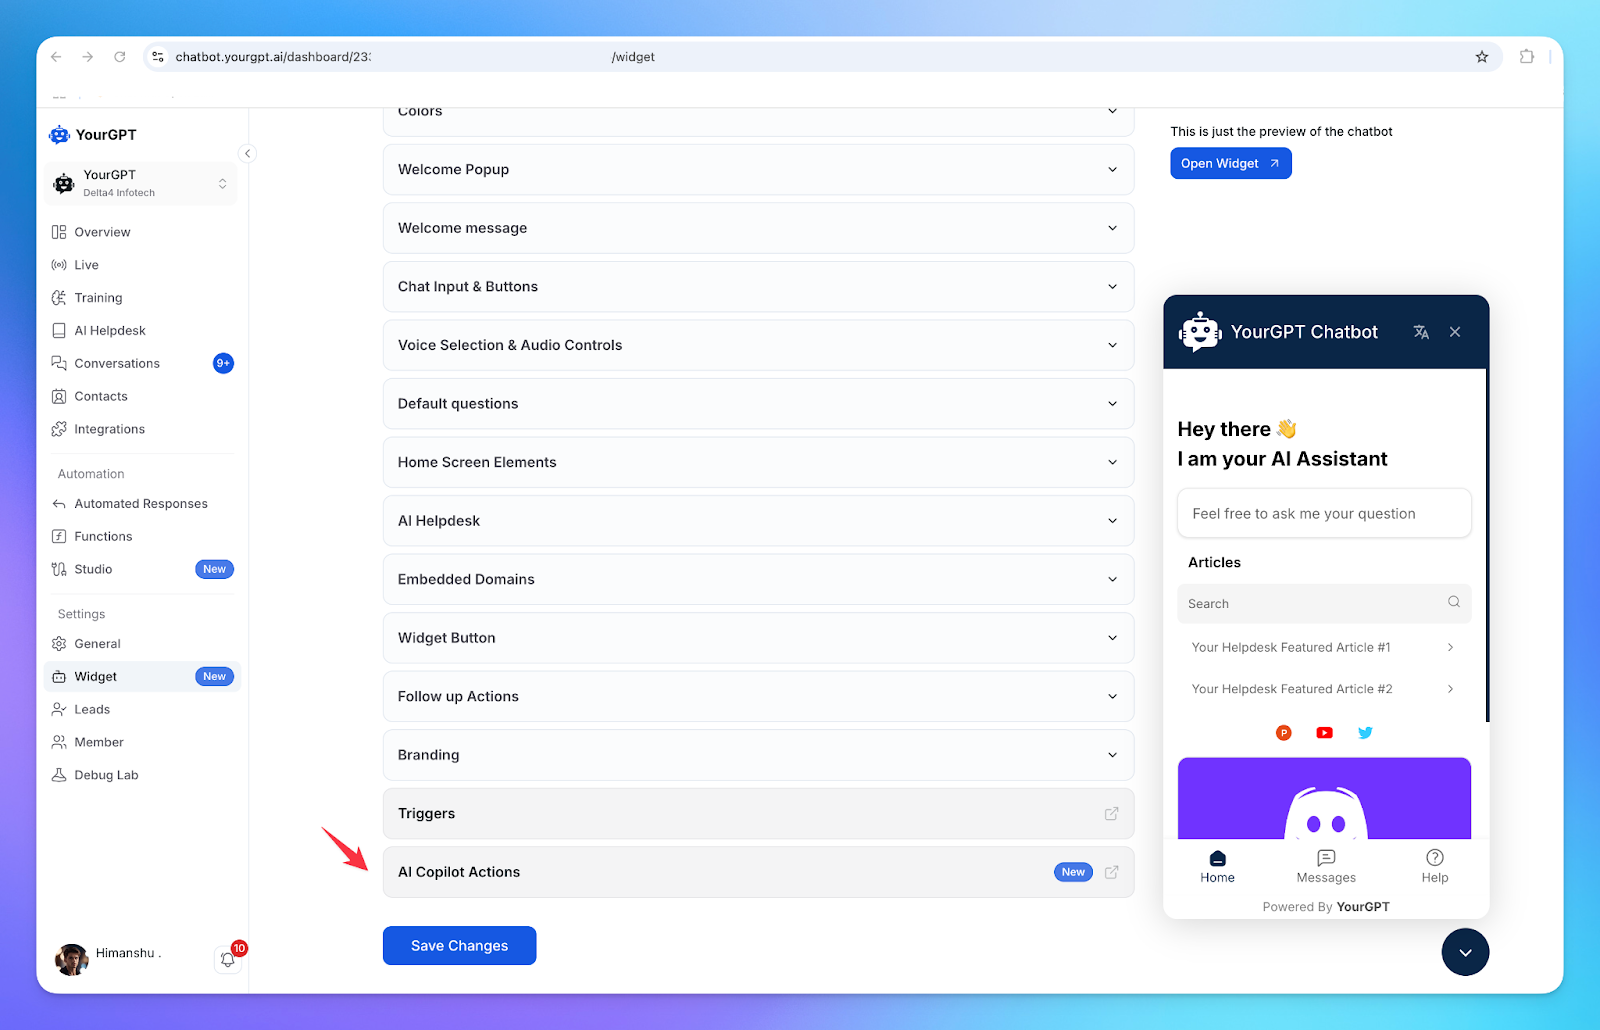
Go to: Dashboard → Widget Section → AI Copilot Actions
Register the actions you want your Copilot to perform.
Example:
{ "actionId": "addToCart", "description": "When the user asks to add an item to the cart", "parameters": ["productId", "quantity"] }2. Integrate with Your Product via SDK
Her is the Basic integration:
import { YourGPT } from "@yourgpt/widget-web-sdk";

await YourGPT.init({ widgetId: "your-widget-id" });

const copilot = YourGPT.getInstance();

copilot.registerAIAction("create_user_account", async (data, helpers) => {
  const confirmed = await helpers.confirm({
    title: "Create Account",
    description: "Would you like to create an account with the provided details?",
  });

  if (confirmed) {
    helpers.respond("Account created successfully.");
  }
});
Documentation: AI Copilot SDK Guide
Code examples: GitHub Examples
3. Deploy and Test
Launch your updated product or website.
Load your app and open the Copilot widget.
Trigger the action with a request.
Monitor activity in the Conversations Tab to see all executed actions.
Supported Frameworks:
JavaScript (Browser & Node.js)
React
Upcoming: React Native, Flutter, iOS and more.
By enabling Agent Mode, integrating the SDK, and registering even a single action, you can quickly bring AI Copilot into your product. From here, you can expand its abilities, and turn it into a powerful, context‑aware teammate that not only responds but that can take actions.
