
How to use Intents in Chatbot Studio?
What are Intents?
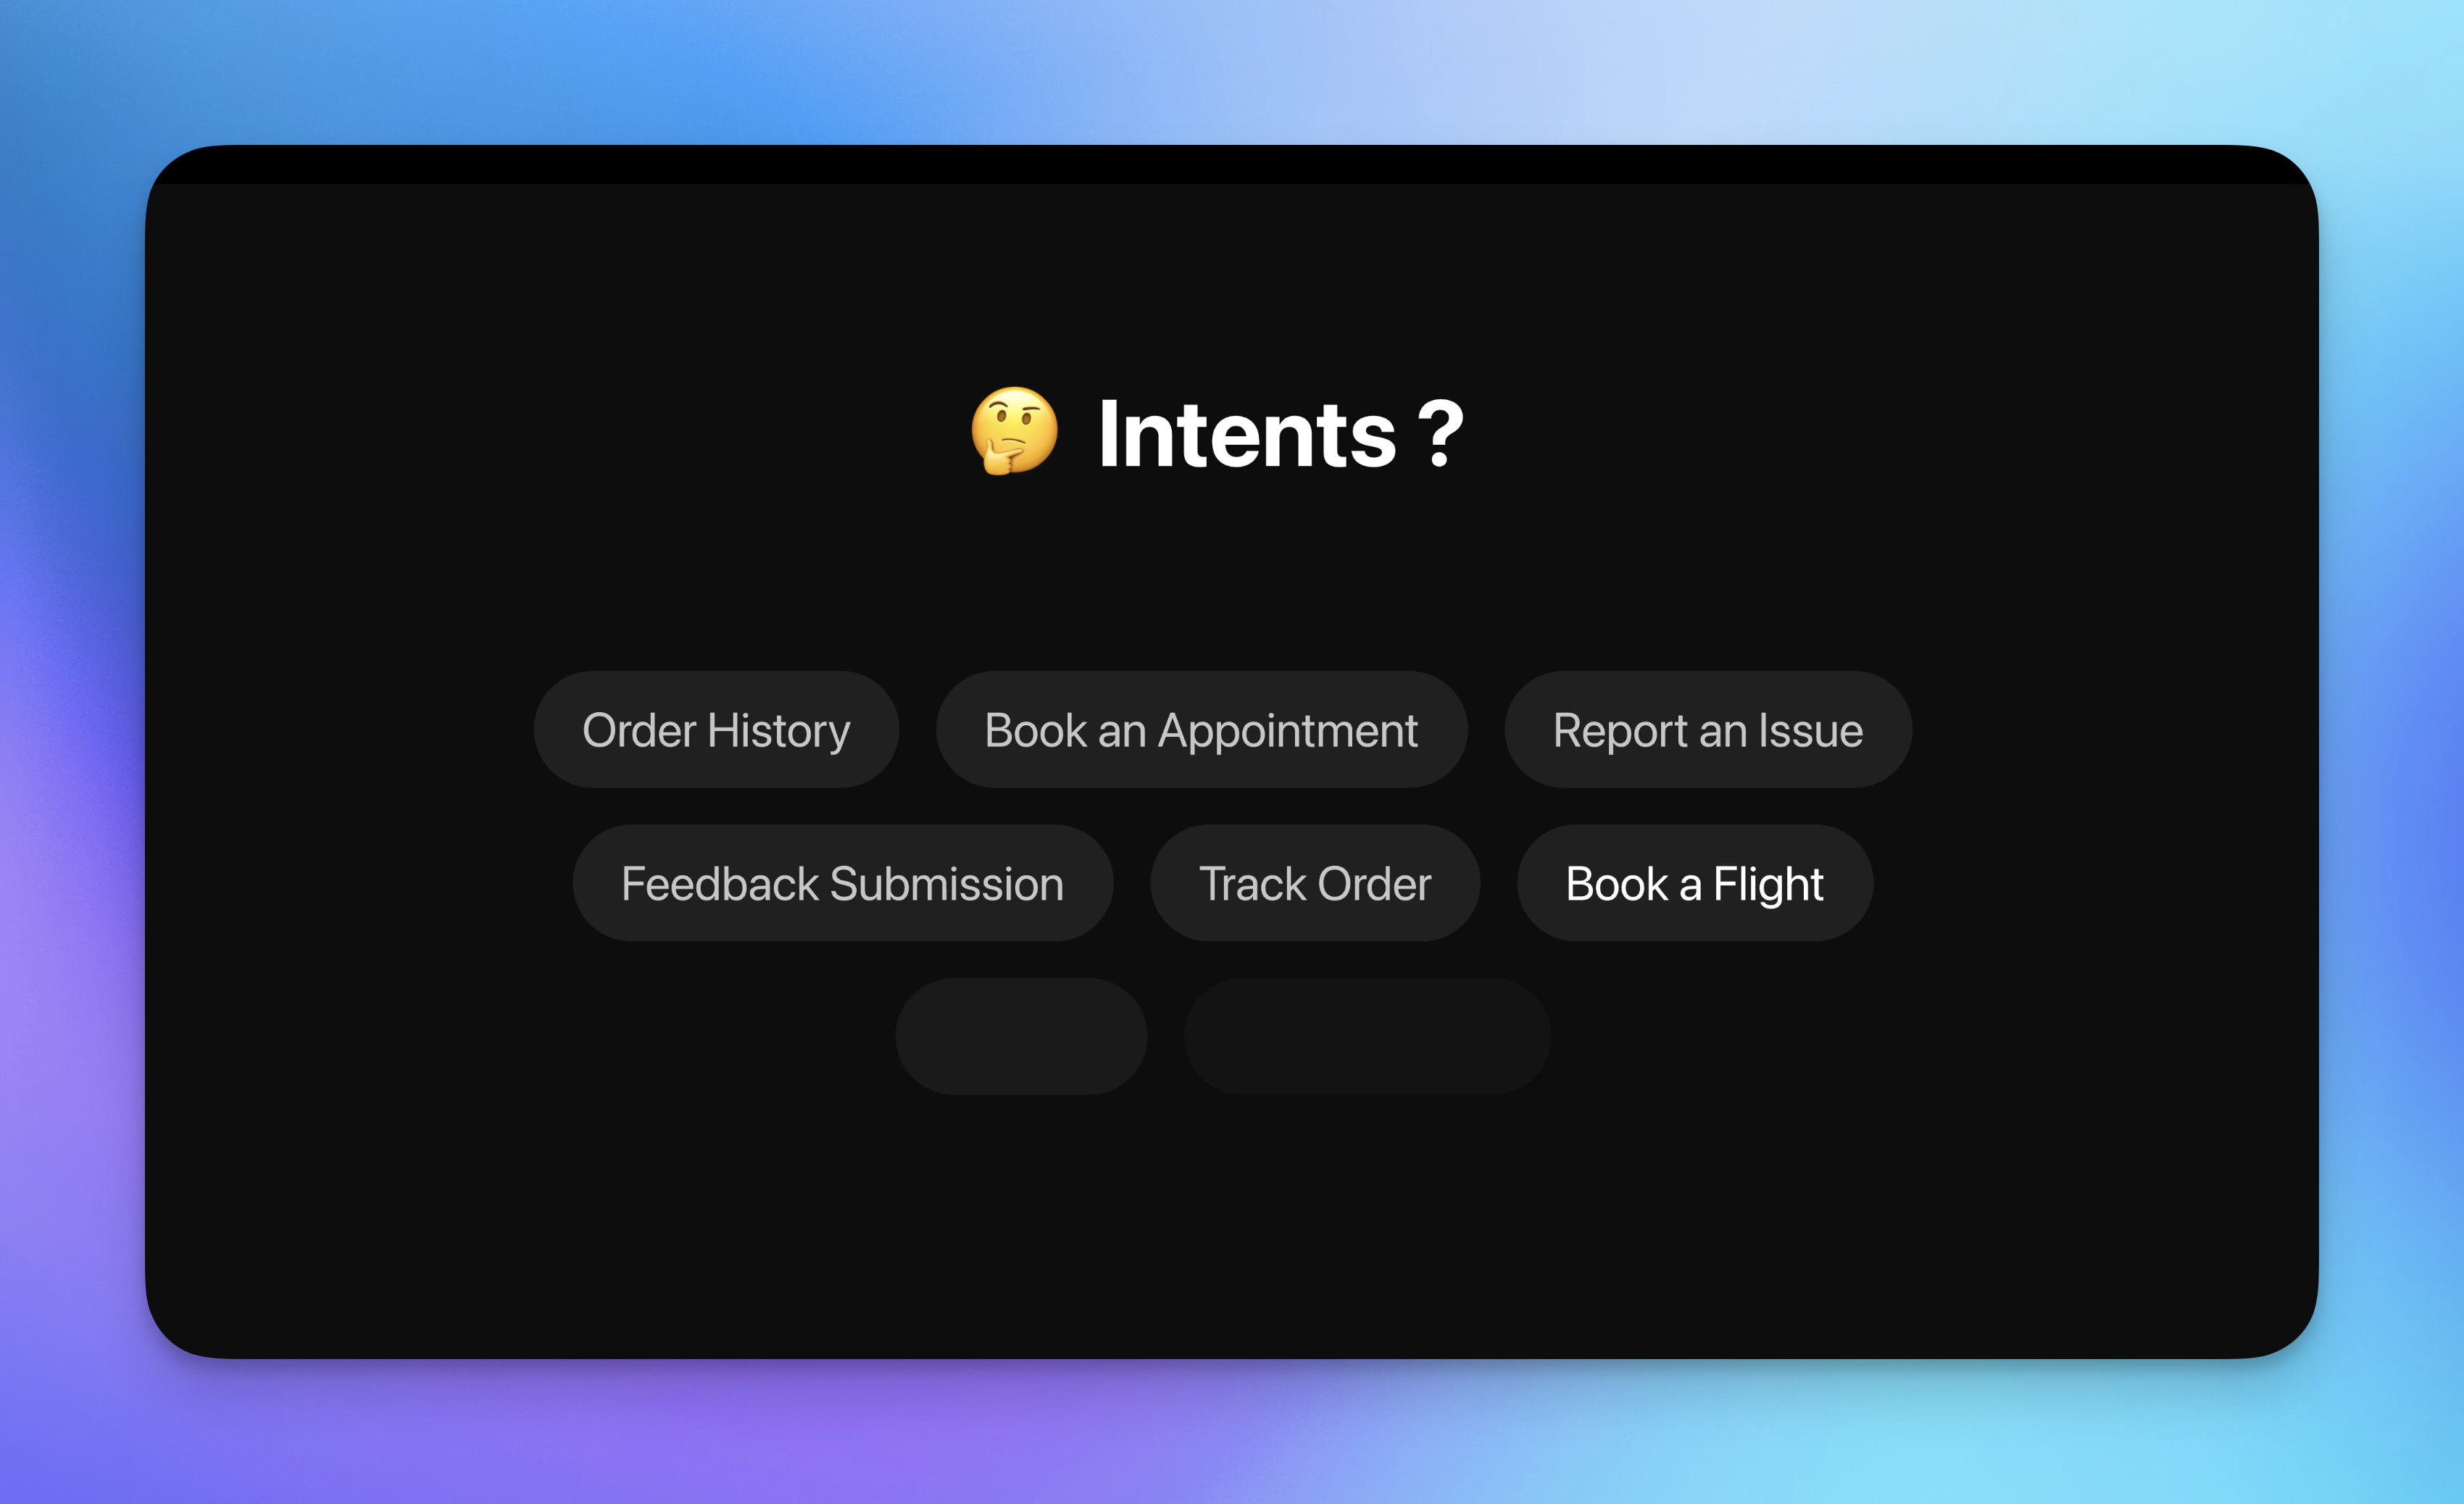
Intents help the chatbot understand user intentions and actions. Each intent corresponds to a specific task or response the chatbot can handle. For instance, if a user asks, “What’s the weather like today?” the chatbot recognizes the intent as “asking about the weather” and responds accordingly.
Step-by-Step Process to Create and Use Intents
Step 1: Access the Intents Section
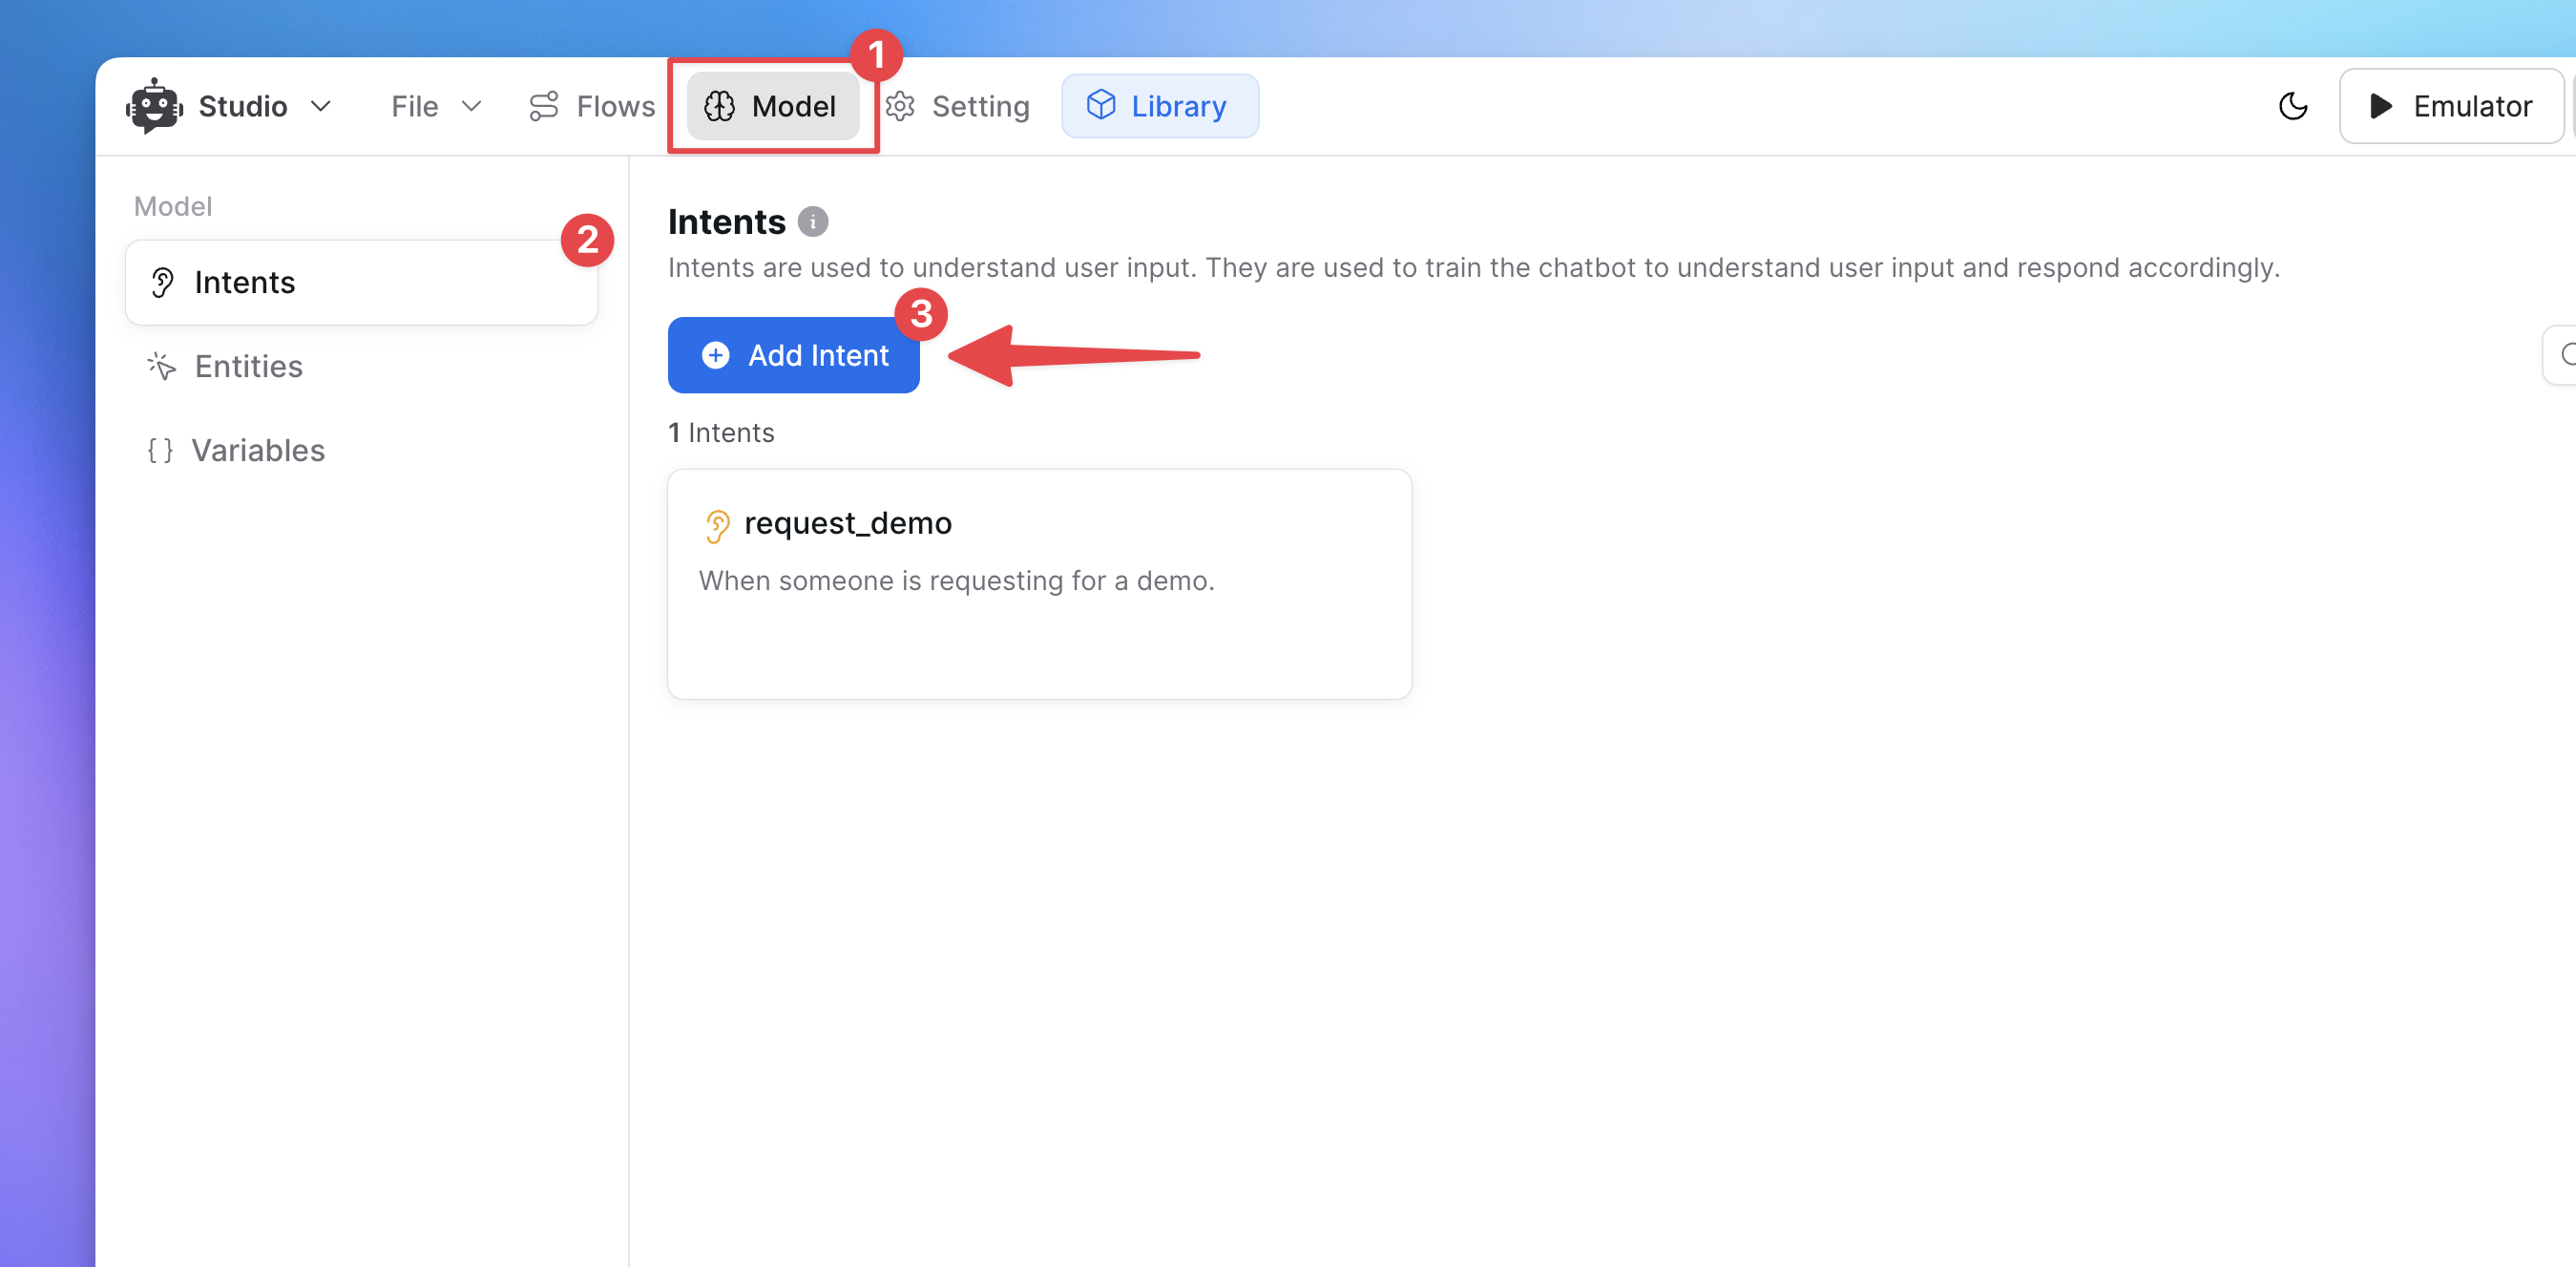
Open the Studio: Launch YourGPT Chatbot Studio.
Navigate to the Model Page: Locate the Intents option in the sidebar and click on it.
Add Intent: Click the Add Intent button.
Step 2: Create a New Intent
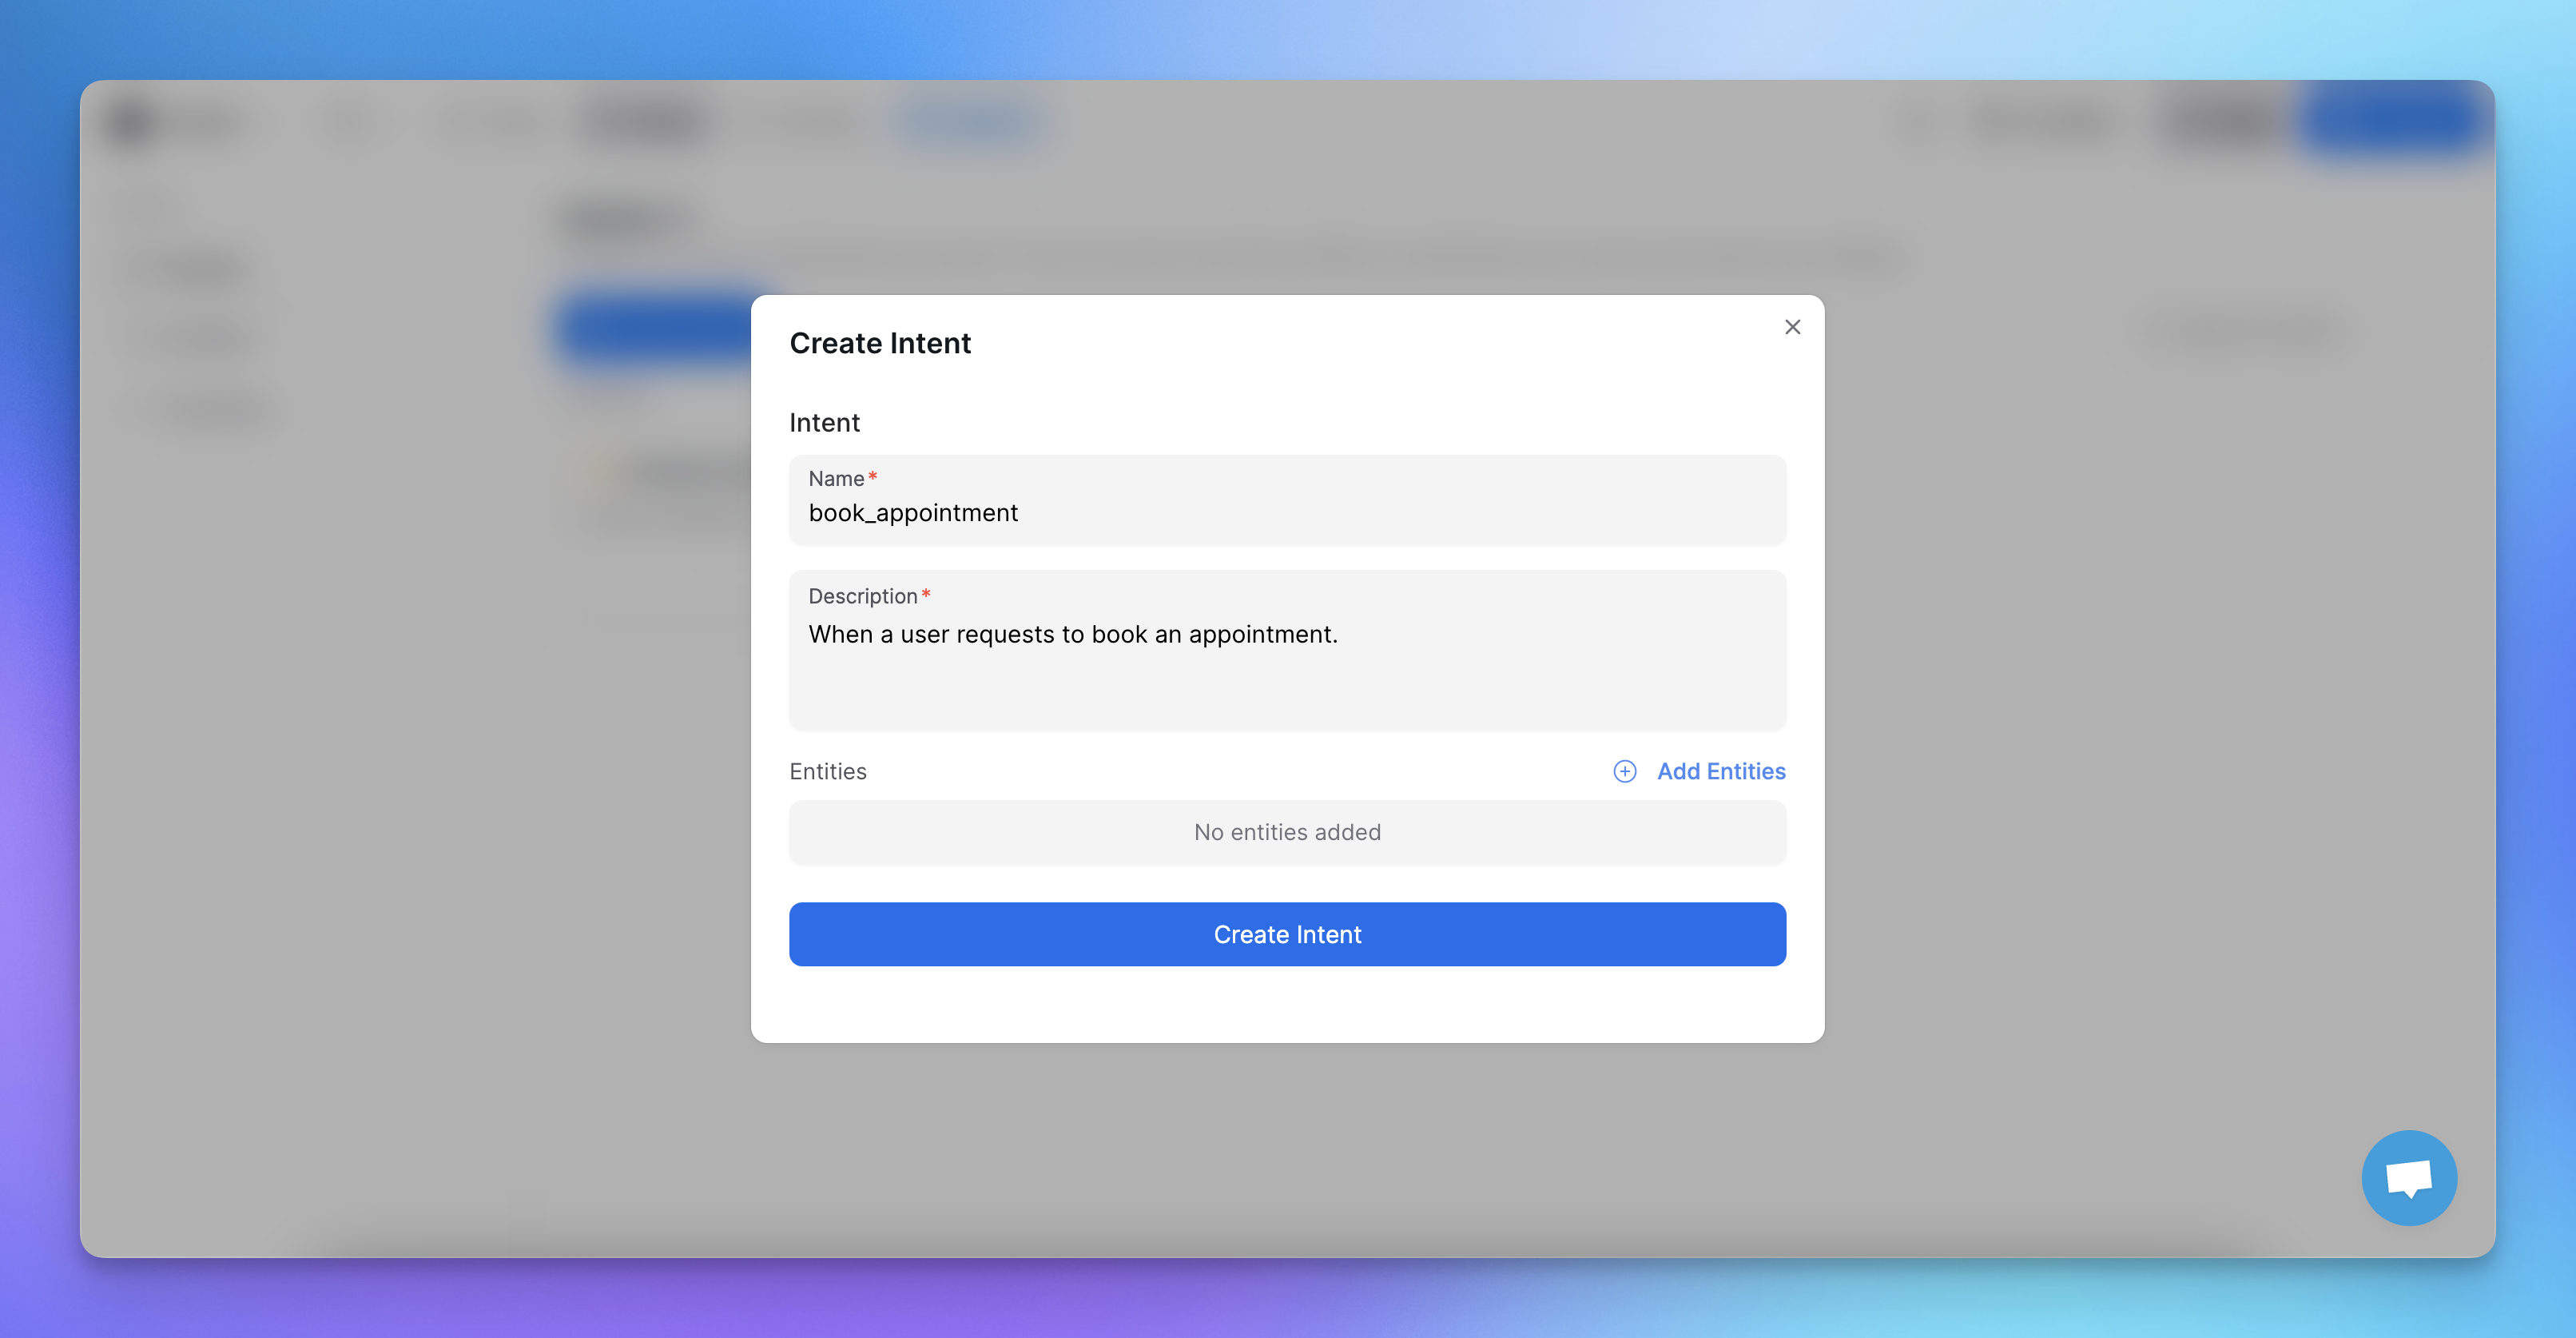
Name Your Intent: In the popup, enter a clear, descriptive name for your intent that captures the user’s task or intention.
For example, order_status or book_appointment.
Describe Your Intent: Write a concise description that serves as instructions for the AI. This description should specify when the intent should trigger.
For example, for the book_appointment intent, you could write something like: “When a user wants to book an appointment.”
Step 3: Add Entities (Optional)
You can add relevant entities to your intent, such as email, name, etc. For more information on entities, refer to the Entities Documentation.
Step 5: Create the Intent
Finalize Your Intent: Click Create Intent. Your intent is now ready for use.
Review Existing Intents:
Familiarize yourself with the default intents listed here. Reviewing their names and descriptions will give you a better understanding of how intents function.
Step 6: Use the Intent in a Scenario
Access Scenarios: Go to your scenarios within the Studio.
Drag and Drop the Intent Node: Place the intent node onto the canvas.
Assign the Created Intent: Click on the intent node and select the book_appointment intent you created.
Step 7: Connect Further Nodes
Now that you have an entry point for your intent, you can connect additional nodes to this entry point as needed to create a complete flow.
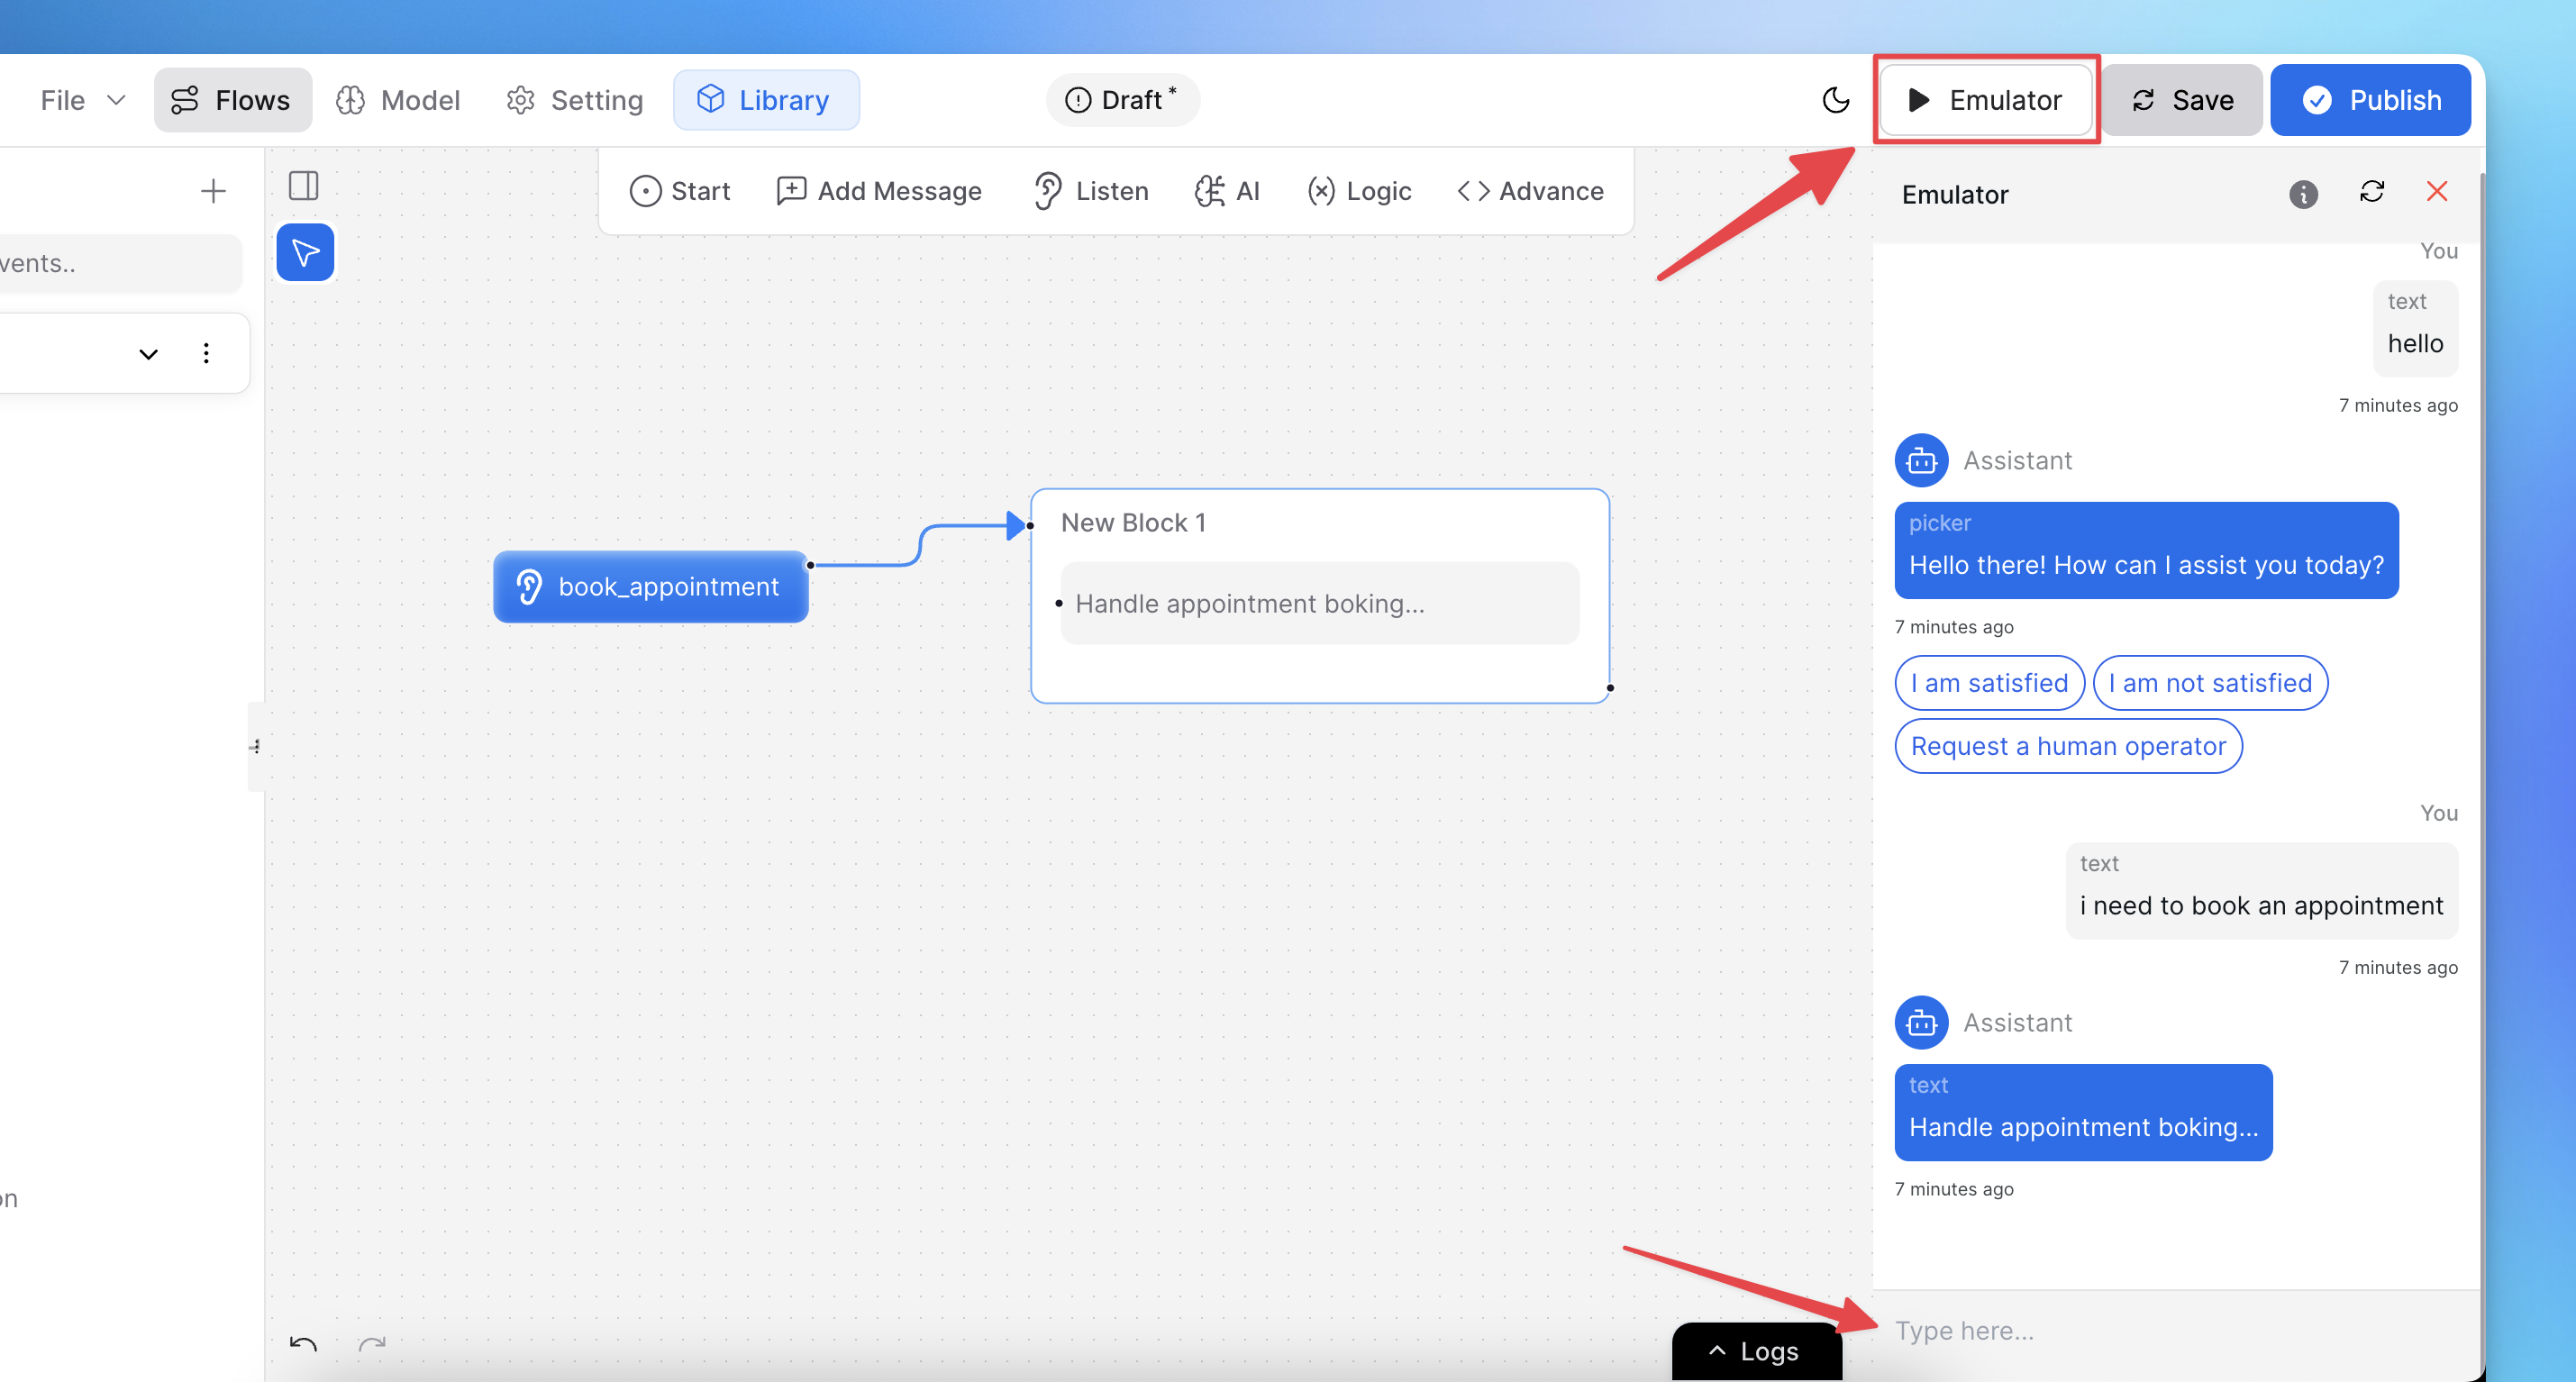
Step 8: Test Your Intent
Use the emulator to test your intent. Refine its description to ensure it works as intended based on user interactions.
Note: If the intent is not triggering, go to General > Model Settings > Restrictions.
If it's set to "Only answer from knowledge base", intent detection will not work.
To fix this, change it to "Answer from knowledge base & allow function calling" so the AI can detect and respond to intents properly.
Additional Resources:
For more information on structuring effective intents, check out the video guide below or visit the Intents Documentation.